Shooting good quality pictures and videos is always something that professionals do best. For good reason too! There are a lot of subtle nuances about shooting high quality pictures and videos that most people don’t even realize is important. Things like lighting, audio, frame rate, resolution just to name a few.
However, another thing people don’t really realize is that it is actually possible to shoot high quality pictures and video on your own with just an iPhone. Will these pictures and videos be same kind of quality that a professional would be able to produce? Of course not, but by using some helpful tricks, iPhone cameras are still capable of producing really nice pictures and videos that you wouldn’t believe were made with an Iphone!
Any business could benefit from good picture and video content but not all businesses have the means to hire a professional company to come and produce these things for them. Learning how to shoot high quality pictures and videos using an iPhone allows any business to upgrade their brand and product right away for a low cost! I found some great articles around the web that dole out some great tips for shooting better quality pictures and videos on your own.
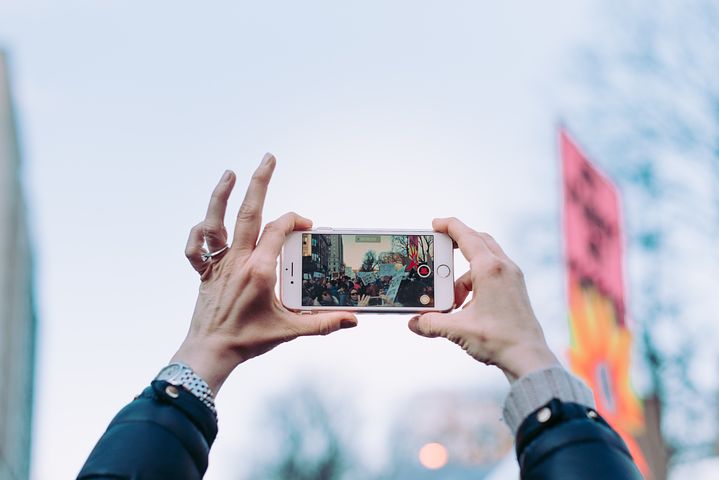
Video
The first article I found was written by Ste Smith on cultofmac.com. The article laid out a few key things that you could do to improve your iPhone’s video quality right away. The first of which is downloading a camera app for your iPhone to use as opposed to the default camera app. The regular camera app is nice and convenient, but it does have its limitations. Ste suggested FiLmiC Pro as a replacement camera app to use instead.
FiLMiC Pro is a $15 mobile app that can be bought on the app store. In terms of cost that is pretty pricey for what apps normally are, but FiLMiC Pro backs up its price with the options it provides you with. Smith lays out a bunch of the great stuff FiLMiC does including shooting video at higher bit rates for better quality and being able to control certain aspects such as countering the iphone camera auto white balance.

Ste also recommends to avoid zooming in when filming with an iPhone. It ruins clarity and will kill the quality of your video. Ste says the closer you are the better as well. With iPhone cameras you can get close to the subject your filming and a depth of field will be created to where the background goes out focus and objects in the front become nice and sharp. Ste also recommends using a gimbal to keep your shots nice and steady. You don’t want your video to be all wobbly when you are moving the iPhone while filming. Without a gimbal it is pretty hard to avoid shaky picture.
Finally, better lighting and sound! The more lighting that you include in your video the better in order to make the picture more crisp and visible. With sound, most people likely don’t even realize just how huge of an effect sound has on a video. You can have the most beautiful looking video ever created, but if the sound is off, or muffled, or distorted, then the whole video will be crippled and totally lack quality. Sound is so important. Ste recommends buy an external lavalier mic for better audio quality and I totally agree.
For shooting good video with an iPhone, you’re going to have a run some money out of your budget when it’s all said and done. If you take all of Ste’s suggestion into consideration it’ll likely cost anywhere from $150 to $200 depending on what products you purchase. Ste talked about a lot of other great stuff about shooting video using an iPhone as well so go check out his article if you want to learn more!
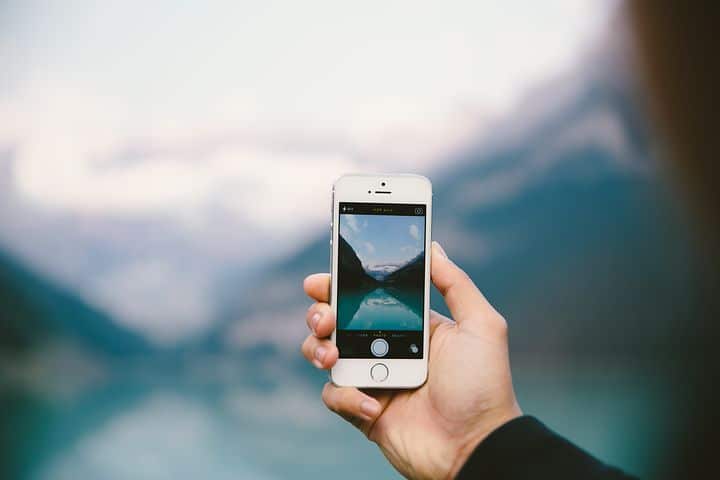
Photo
What about pictures though? Shooting quality pictures using an iPhone camera is even easier and cheaper than shooting good video. For one, all iPhone cameras should have the ability to adjust exposure before taking a picture. Adjusting the exposure of a picture makes it brighter or darker and can help bring out contrasting colors in images to give them more boldness or pop. All you to adjust exposure with an iPhone is tap to focus on your subject. Once you’ve done that you can move your finger up or down along the screen to the right of the little sun icon that appears next to the focus area. You will see your screen get brighter or darker depending on where you move your finger.
I also read an article by Emil Pakarklis on iphonephotographyschool.com that gave some good tips for taking quality photos using an iPhone. Some of her tips that I liked the most included trying to capture as much close of detail as you can, shoot photos from low angles, find ways to include symmetry, and show depth in your photos.
Capturing close up details in your photos will bring freshness and more life to your photos. Shooting photos from lower angles will bring unique angles and new perspectives to your photos. Showing depth in your photos helps draw the viewer’s eye in to the photo and creates a more engaging picture to look at. Emil says one of the best ways to create depth is to use lines to your advantage. Things like roads and rivers are great for creating depth if you can get them to move from the foreground of your image in to the background. Emil talks about these and a bunch of other great tips in her article at the iPhone Photography School. You should definitely check it out!
On top of all of of this stuff, Apple has an amazing page on their website that has a boatload of less than a minute videos that show you unique ways to use your iPhone camera to shoot something awesome. The videos are intuitive and laid out in a manner that makes them super easy to watch. It is really really cool and something that is definitely worth watching as you’ll learn a lot in a small space of time in a fun and interesting way. That page can be found here!