How to Install on WordPress
Once the AI gives you your schema code, here’s how to add it to a WordPress site in under 5 minutes — no developer needed.
-
1
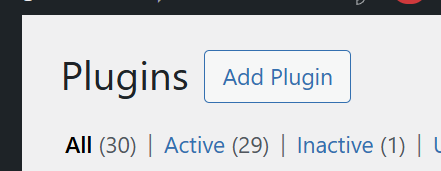
Go to Plugins → Add New
In your WordPress dashboard, click Plugins in the left sidebar, then click Add New Plugin at the top of the page.
-
2
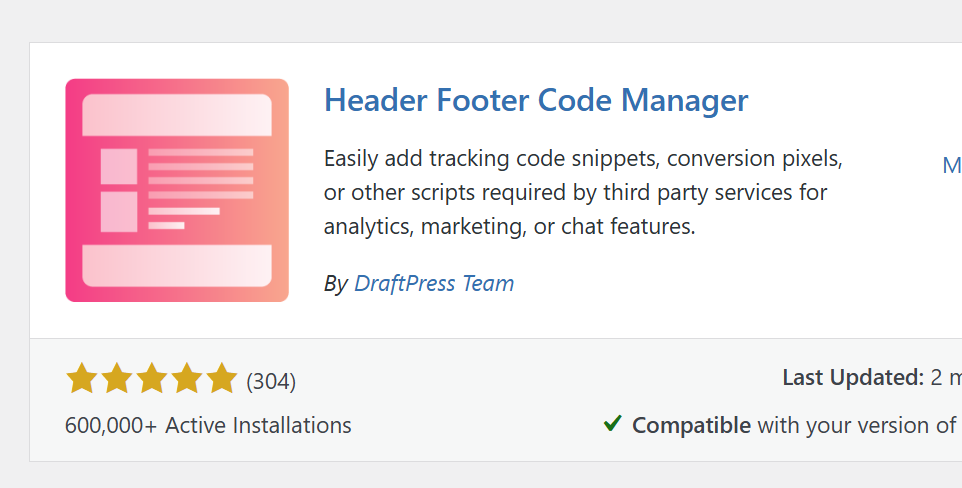
Search for “Header Footer Code Manager”
In the search box, type Header Footer Code Manager. Look for the plugin by Developer Developer. Click Install Now, then Activate.
-
3
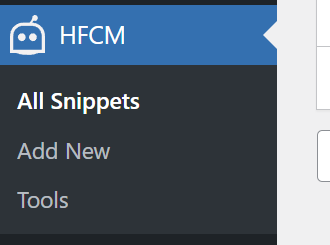
Click HFCM in the Sidebar
Once activated, you’ll see HFCM in your WordPress left sidebar. Click it to open the snippet manager.
-
4
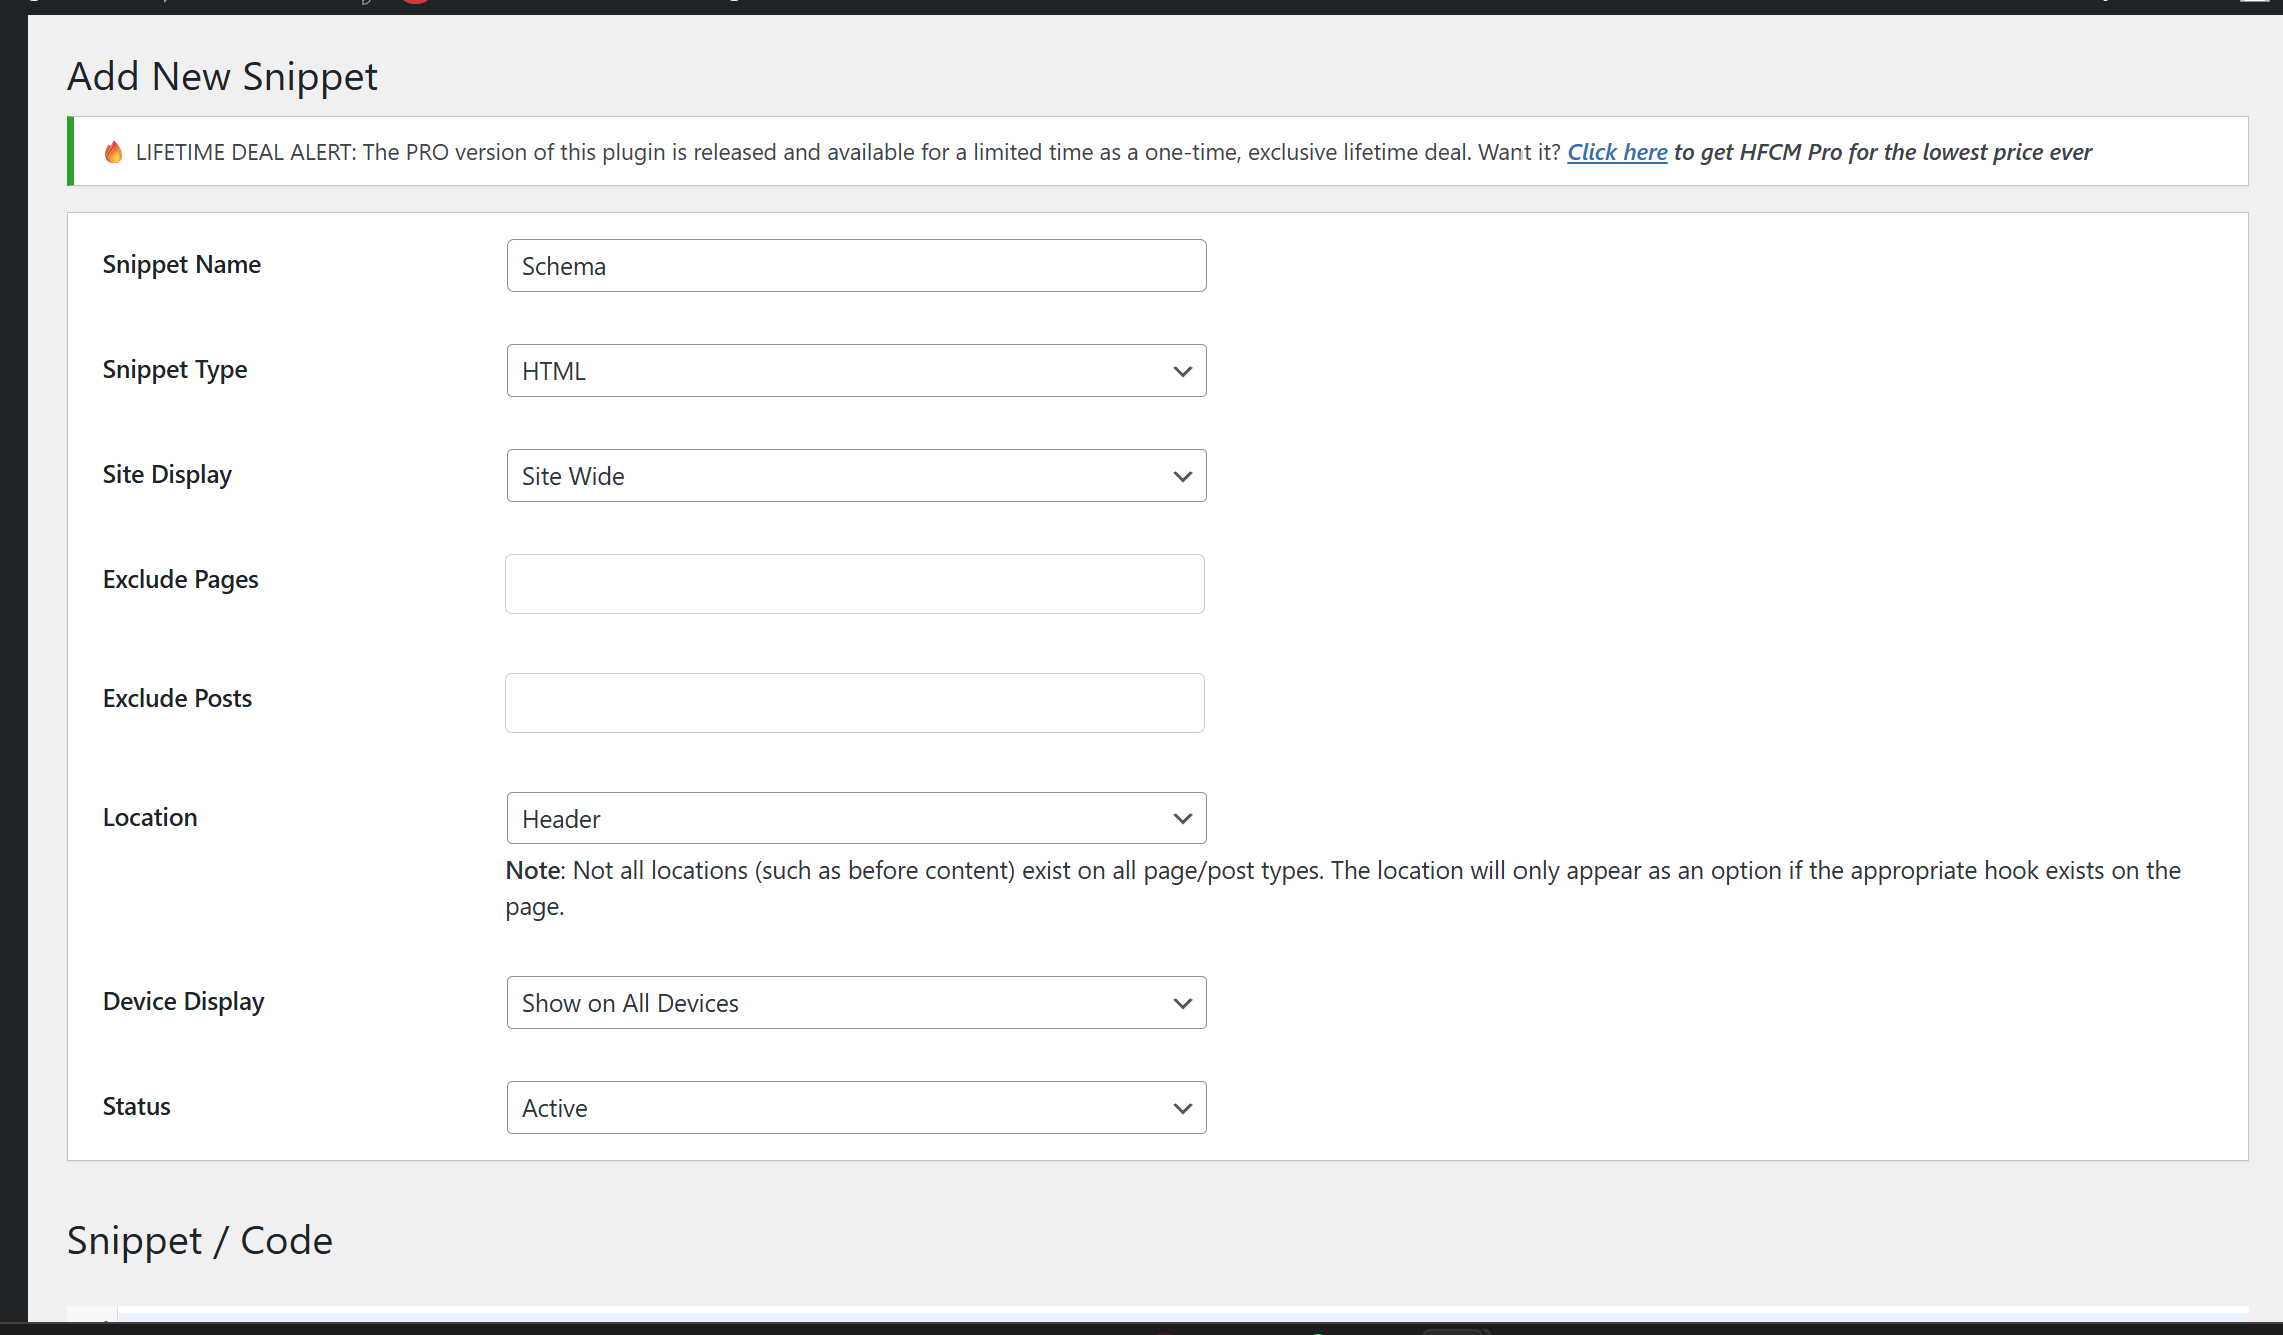
Add New Snippet
Click Add New Snippet. Give it a name like “Schema Markup”. Set Location to Header.
-
5
Paste Your Schema Code
In the Snippet / Code area, paste both
<script type="application/ld+json">blocks from the AI’s output. Include both blocks — one for LocalBusiness, one for Organization. This is where your schema lives.
-
6
Save and Validate
Click Save. Then go to validator.schema.org, enter your website URL, and confirm your schema is detected. You’re looking for both LocalBusiness and Organization in the results.